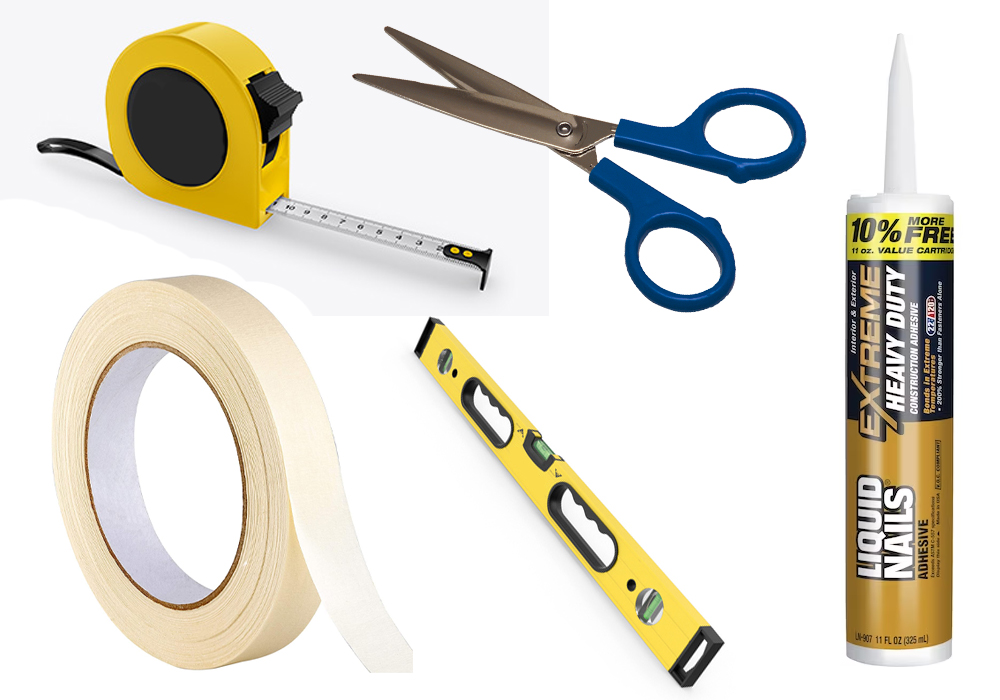
You would need:
a. Measurement ruler
b. Glue on polymer or alcohol base
c. Painter’s tape
d. Strong scissors
e. Level
Clean the wall surface from dust, send bumps and rough spots, and prime the wall.
Measure your wall footage, calculate the number of required units, and prepare the panels
You would need to start from the top left edge.
If your wall panel has a serrated pattern for interlocking pieces together, make a clean and straight cut of the left edge.
Since this is a raised texture panel, apply the glue on the back of the panel, at the spots that touch the wall and gently paste the panel.
Adjust the next panel and keep repeating step 4 from left to right until you reach the end of your paneling line (right wall or the far right spot you want to apply).
Repeat steps 3 to 5 for each new line of wall panels.
On the right side of the panels, you will see projecting parts that are matching the next panel's interlocking pattern.
Apply a small amount of glue onto these parts, and remove excessive glue after sticking the next panel on top of these projecting parts.
To support your panels and prevent them from slipping down while the glue is drying, temporarily fix them with painter’s tape.